Spots vs. Stripes!
Today we sorted items into categories. The kiddos were struggling with stripes and spots on the animals, so another lesson was born.
Language Targets:
Expressive Language: I focused on "that" but If your students are ready for "it" that would work better :)
Receptive Language: What questions
Materials: 2 boxes, one labeled with stripes and one with spots, different items with spots and stripes (some were zoo animals, but I also used other items as well. Some examples: clothes, paper, bucket with spots, a microphone, etc. Have fun finding your items!)
First, we reviewed the zoo animal vocabulary. Then I pulled out the zoo animals that had stripes or spots. Talk about how the animals look and discuss where to put each animal (either in the stripe box or the spot box).
Next, have the items in a big bag, pull out the first item.
T: What is that?
S: That is a scarf!
T: Does that have spots or stripes?
S:That has stripes! (Student should put it in the box labeled stripes)
Continue until all items have been sorted. At the end, we counted the items in each box. Which box has the most??
To make the boxes, I cut the tops off of tissue boxes. Then I covered the boxes with large masking tape (took two times around to cover the pattern on the boxes). Last, I drew stripes and spots on index cards and taped to the outside of each box.
Stripe Center
For morning center, the students cut black stripes and glued the stripes on orange paper. We talked about what animal has that pattern too.
Dot Center
We also did dot sticker D's. Our letter for the week is D, so we combined spots (dots) and D!
Understanding Between!
Today we introduced the concept of between to the kiddos. Using the zoo animals, we modeled the concept of between trees, between cars and between blocks. After the modeling, each student had a chance to practice the concept.
Language Targets:
Expressive languae: between
Receptive Language: Where questions, following directions
T: (giving the student the trees) Put the giraffe between the trees. Where is the giraffe?
S: The giraffe is between the trees. ("between the trees" or "between" is OK too)
Do this with each student. Then switch to cars and then blocks.
Next, give the student two choices.
Example: Give the student the trees and the cars.
T: Put the giraffe between the cars. Where is the giraffe?
S: The giraffe is between the cars. ("between the cars," or just "between" is OK too.)
Do with each student.
**I used all different zoo animals during the lesson, not just the giraffe!!!
Directions for making Paperbag trees
I used two lunch bags for my trees and it worked out fairly well! The trees were easier to make than I thought!!
Monkey Center!
For the teacher led center today the kiddos made thumbprint monkeys! Super cute.
For the lesson, each child will need a piece of paper with two large trees drawn on the paper. Then using a stamp ink pad, stamp the thumb in the ink and put the thumbprint on the paper. Two thumbprints together make one monkey. When the child is done making thumbprints, the face, arms/legs and of course, the long tail can be added to each set of thumbrpints! Super cute when done.
Understanding "with" (manner) and Top vs. Bottom
There were a handful of animal names that the kiddos were struggling to remember, so we did some fun crafting!! We made a hippo, a tiger, a leopard and a peacock. All of the following crafts were made with the same language targets so I will write the lesson once. After each picture, I will post websites where specific parts for the animal can be found.
Language Targets:
Expressive Language: with, top/bottom, adjective+noun (two eyes).
Receptive Language: What questions
Start off the lesson by reviewing the vocabulary words.
T: What is that?
S: That is a polar bear.
T: Today we are going to make a hippo. The hippo is gray. I need to make gray paint. I will mix black and white together. What am I stirring the paint with?
S: With a paintbrush!
T: Now, the gray paint is ready. What will you paint the hippo with?
S:With a paintbrush!
T: Andrew, what is he (point to another boy in the class) painting with?
S: He is painting with a paintbrush.
Repeat till all students have had a least one turn.
Once hippo is painted. add the facial features.
T:What does the hippo need? (hold up a facial feature: ears, eyes, nose, mouth)
S: Eyes!
T: How many eyes does the hippo need?
S: The hippo needs two eyes.
T: What color eyes do you want?
S: I want blue eyes.
T: How many blue eyes do you want?
S: I want two blue eyes.
T: Where will you glue the two blue eyes? On top of the head or the bottom?
S: On the top!
Repeat with each facial feature.
I used the same lesson for each animal craft we made!
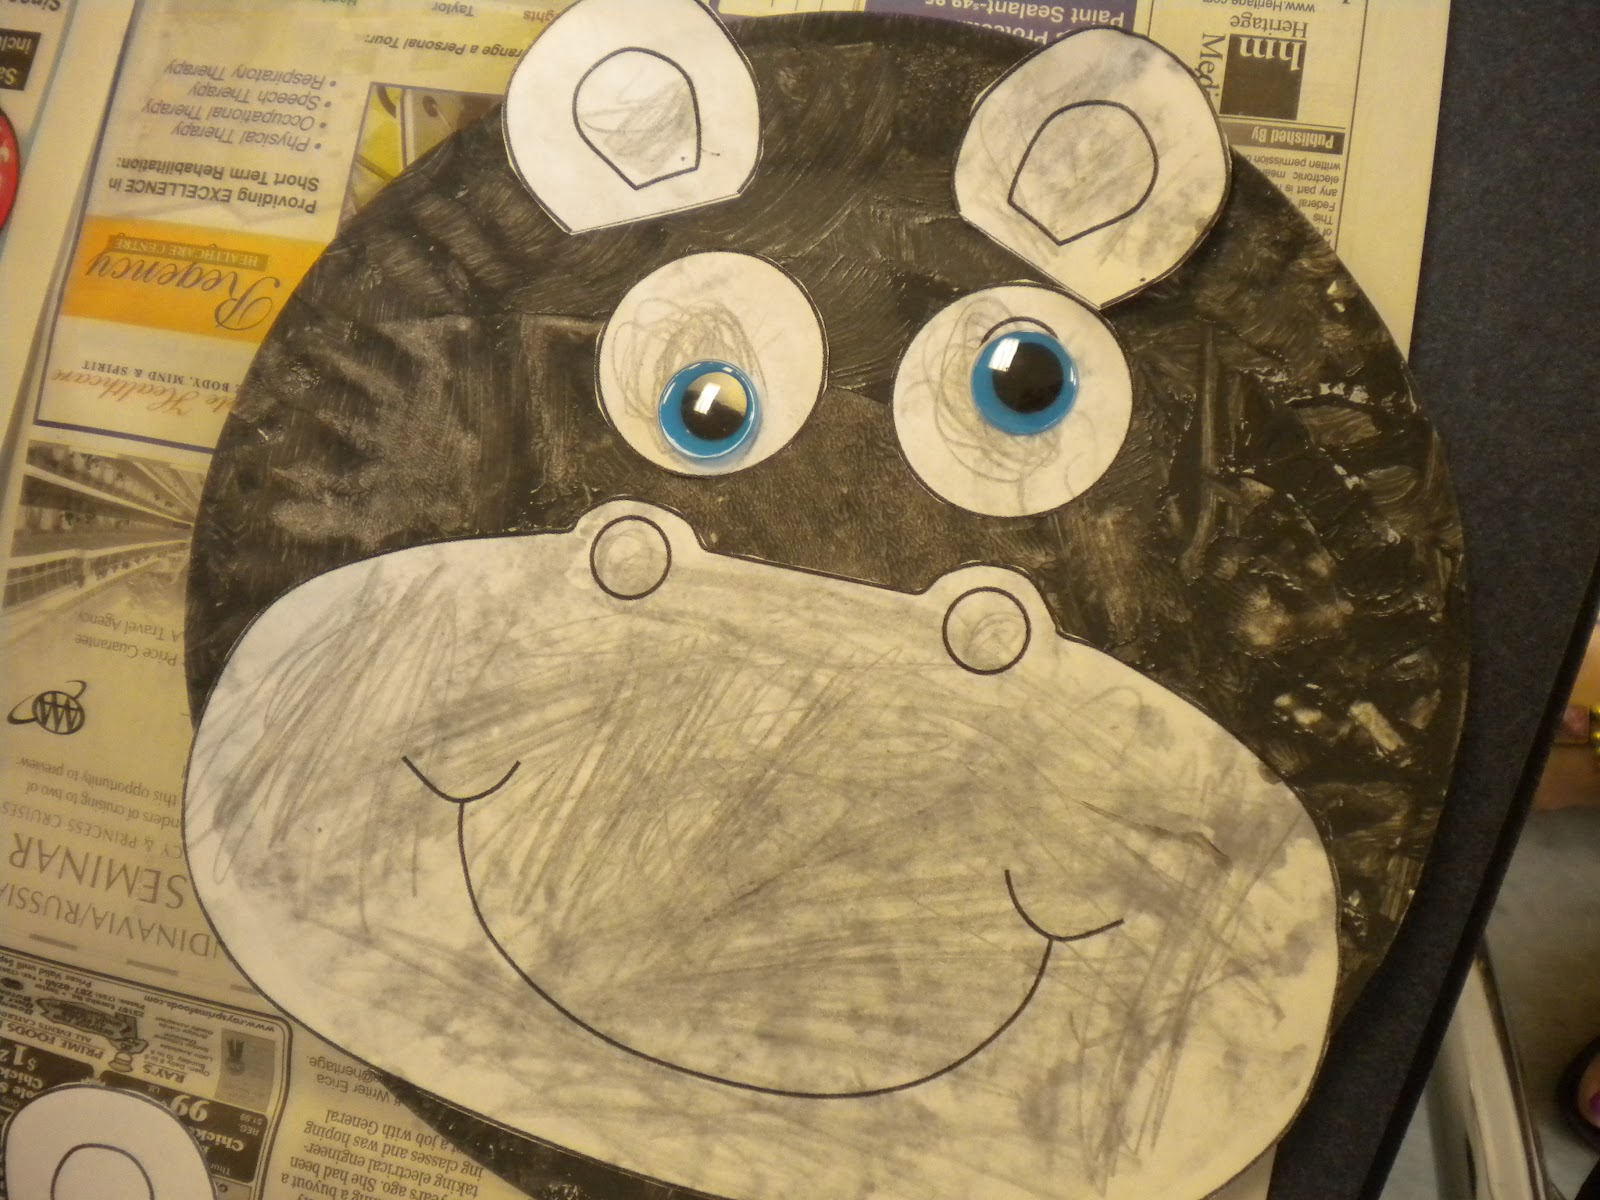
Hippo Craft
We painted a paper plate gray. Then colored the facial features gray as well (in hindsight, I would have copied the facial features on gray paper and then cut out for the students)
Hippo Craft Directions/Printable
More hippo crafts
Tiger
We painted to paper plates orange. Then painted black stripes. This was a major focus of the lesson, stripes. We added 4 paws, a tail, 2 ears, 2 eyes, one nose and the mouth. I made these myself and cut each out before the lesson started. I will try and scan the outlines in and upload later.
More Tiger Craft
Leopard
This was the same as the tiger, expect we focused on spots! We mixed brown and white paint to make tan. Then we used cork tops to paint the spots.
**Tip: glue the pipecleaner mouth on with a glue gun. Much easier than regular glue!
Peacock
Paper plates are the theme of this lesson!! The language focus of this lesson was "and." We drew the feathers on with green and blue markers. Then we used yellow paint for the spots. We had cotton balls with clothespins handles, to tip in the yellow paint to make the spots. Last, the facial features were added! Very cute :)
More Peacock Crafts
More Zoo animal Crafts
Using "and"
The kiddos have been starting to use longer sentences in my room! Yeah! I have noticed that the important word "and" is being dropped from their sentences. They like to say E'Mani Andrew, instead of E'Mani and Andrew! So off for another language lesson!!
Using the zoo animals that we have been talking about we introduced the concept of "and"
Language Targets:
Expressive Language: and, that (review)
Receptive Language: What questions
Materials needed: plastic zoo animals and a coloring page with many zoo animals on the page.
To start the lesson we reviewed the vocabulary cards with the language target "That is a___________."
Next I pulled out 2 animals from my guess bag and showed the students.
T: What do I have?
S: lion, tiger
T: I have a lion and a tiger. When I have 2 animals I have to say "and."
Model a few more times then let the students pick 2 animals.
T: What do you have?
S: I have a lion and a tiger. (I except just "lion and tiger" from my students who are at an early language development. Then I model the entire sentence for the students so they can hear it again).
Repeat this process a couple of times for each student.
Next, have a sheet of paper copied with zoo animals. Give each student a paper and a set of crayons.
T: Color the giraffe and the elephant purple. What animals did you color purple?
S: I colored the giraffe and elephant purple. (Again, just "giraffe and elephant" is OK for the students at that level.)
Zoo Fun!
We started our zoo unit this week. I love zoo and I enjoy teaching it! Again, I used the BoardMaker to make the vocabulary cards.
Language Targets
Expressive Language: that
Materials:
Vocabulary Cards
Dear Zoo Book
Toy animals
We started off the lesson by going over the vocabulary cards.
T: What is that?
S: That is a bear.
Take some time to talk about the animals.
Then we read the book Dear Zoo, by Rod Campbell . We took some time talking about the animals in the book.
If there is time, set out the vocabulary pictures and have the students match the toy animal to the picture.