Monday, April 30, 2012

Pronoun: Everyone

Rain Day!


Today was rain day. We started the morning off by making rain clouds. The kiddos laced and stuffed gray clouds then added rain (blue crepe paper). For rain day, we made rain pictures!


Expressive Language: pronoun, everyone
Receptive Language: following directions

For the morning activity I used the same cloud picture from yesterday,  expect I copied it on gray paper. You will need 2 clouds per kiddo. I cut out the clouds and hole punched around each cloud. Then I started the lacing for the kiddos but they finished it. It took about 2 pieces of scrap paper crumpled to fill the cloud. Then I tied it shut. For the rain, I gave each kiddo a piece of blue crepe paper to cut into small stripes for the rain. I stapled the paper on the clouds at the bottom.

For language today, we made rain pictures. I found this activity on pinterest as well. The link to actual website can be found here.  The language goal today was to understand "everyone." I gave each kiddo a blank piece of white construction paper. Then I gave a direction:
T: Everyone take a red marker.
Who has a red marker?
S: Everyone has a red marker.
T: Now, draw with the red marker.

The kiddos were allowed to draw what they wanted. Then I switched colors about 5 times. Last, the rain cloud came over and rained on their pictures! I held a gray cloud from the morning activity and sprayed each picture with water. Then we set the pictures aside to dry. The pictures turned out so beautiful!

**The markers MUST be washable markers.


For afternoon language time we made clouds in a jar. I have been trying to add science to the curriculum more and found this activity on pinterest and the actual website can be found here. It looked like fun so we gave it a whirl!!

You will need the following for the activity:

mason jar for each kiddo
shaving cream
food coloring
water
small bowls or cups
eye droppers
paper towel

Spread the paper towel on the table (you will need a few layers!) Give each kiddo a jar. I made each one ask for the jar.
T: Who has a jar?
S: Everyone has a jar.

I repeated this for each item.

Fill the jars about half to 3/4 full. Put shaving cream on top of the water. (*the more shaving cream you use the longer it will take to "rain" through the cloud). Give the students the droppers and colored water. Drop water on the clouds and wait for it to rain! Keep adding color. We used all different colors and were rewarded with a pretty rainbow affect!! The kiddos loved it!


CENTERS
Rainstick-at centers today the kiddos made rainsticks from toilet paper tubes. They colored the paper on the outside and then glued (or staple) onto the tube. We added popcorn kernels about 1/4 full for a good rain sound!
The next day we used the rainsticks to make rain while listening to the song "April Showers" from the movie Bambi. It goes through the rain starting with soft rain to a storm and back to soft rain.


Paper towel Umbrellas- I cut out umbrella shapes form paper towel and glued on construction paper. The kiddos painted and added rain. Very cute! (Sorry no picture, I forgot to take one!!)


Making Predications and adjectivies

Cloud Day!

I think this was my favorite day of our spring unit (Yes, I am WAY behind on the blogging. Sorry.). For this expressive language lesson, I focused on getting the kiddos to describe an object. 

Expressive Language: adjectives, conversational language
Receptive language: understanding simple "wh" questions

To kick off the morning, the kiddos laced and stuffed white clouds. It was a great fine motor activity and held their attention during morning work time. 


Here is the link to the cloud picture I used. I enlarged and copied the cloud on to sturdy paper for the lacing activity.


Next, I read the story "Little Cloud" by Eric Carle. We used the clouds we made in morning work to act out and follow along with the story. 

 
Next, we had some fun! We made a cloud in the microwave!! I gathered everyone on the floor next to the microwave and held up a bar of Ivory soap (it MUST be ivory soap). I asked some prompting questions like: What is this? How does it feel? What does it look like? What color is it? Does it smell? I then wrote the answers to these questions on chart paper under the word SOAP. Then we made some predictions. 
T: What do you think will happen to the soap when I put it in the microwave?


 I really had to prompt this part of the lesson, but once we got going the kiddos started getting the idea. I asked each kiddo a different question: Will it change color? If yes, what color will it be? I wrote their answers on the chart paper at the bottom. 
Now, that all the pre-work is out of the way, on to the fun! Cut the bar of ivory soap in half (I did do a full bar and its not much bigger than a half bar, but it seemed to make less of a mess in the microwave when I cut it in half!). Put the soap on a microwave safe plate and turn the microwave on for 2 minutes. Watch it grow!!! Take it out and set it where everyone can see. Again, we talked about how it looked, smelled, felt. I recorded all of these answers on the chart paper under the word CLOUD. 


I was so pleased with the spontaneous language that was happening during this lesson. It was so much more than I thought possible!

CENTERS

Water colors on the soap cloud-The kiddos used eye droppers to add color to the soap cloud. I put out two medium sized Tupperware containers with part of the soap cloud in each. Then I let the kiddos drop colored water on the clouds! With each kiddo, I added some new soap to the dish. The clouds turned out so pretty!! 


Cotton Ball clouds-the kiddos glued cotton balls on cloud shapes. I used the same cloud pattern as before. I just copied it on blue paper.


Poke a cloud with a golf tee. 

Friday, April 20, 2012

Conjunction: "And" Pronoun: "Everyone"

Sun Day!

For the spring unit, I decided to make each day about a different vocabulary word. Today, was sun day. Sadly, this lesson never got taught as our sun day got interrupted by a tornado drill! But, I thought I would post it anyway. I did get the "and" part of the lesson in later in the week using the smartboard.


Using clipart, I had pictures of different size suns: small (little), medium and large (big). I introduced these to the kiddos. Then I gave each student two suns of different sizes.

big sun

little sun

medium sun
T: What do you have?
S: I have a big sun and a small sun. (or just "big sun and small sun.")


">
I went around the table a few times to give students a few chances (this is where the tornado drill interrupted our lesson). Next, I planned on giving everyone the same size sun.
T: Who has a big sun?
S: Everyone has a big sun!
For my kiddos, at this point "everyone" is taking some explaining. I have been going around the table pointing to each person and showing that everyone has the same thing. Need a few more exposures!


I had also planned to take pictures of everyone holding the big sun, small sun and medium sun to use in a chart story the next day. So to make up for this lesson, I planned a smartboard activity to cover the "and" portion of the lesson. I have no idea how to upload it, so if you would like a copy of it, email me and I will send it to you!

Centers

We made yellow string suns- make a big circle with glue. Then put yellow string on for sun. Add smaller cut string for rays (I precut my string, but if your kiddos are ready they can do the cutting).

Paper plate suns- paint the paper plate yellow and add yellow crepe paper for sun rays.

Intro to Spring Unit

It's spring time here in Michigan and we started our spring unit today. I read "Wake Up, It's Spring" by Lisa Campbell Ernst. I love this story. It has some great spring words and is simply written. Perfect for kiddos with language delays!


Today, we simply read the book. To start we talked about all the items we saw on the cover. A bunny hopping, the bunny tail, letters (I was SUPER excited someone pointed those out!!), the flowers, grass and sky (I had to assist with those last ones). Then I read the story aloud. We acted out some of the items, wiggled like the worm, grew like the seed, flew like the ladybug and bird, stretched like the cat, you get the idea! 

The last thing we did was pull out each item from the story that I had hidden in my guess bag. Each student pulled out an item, then said the name of the item and put the picture on the magnet board. Tomorrow we will read the story again and put the pictures in order at story time. The kiddos seemed to enjoy themselves and I did too!!

Tuesday, March 27, 2012

Spots vs. Stripes

Spots vs. Stripes!

Today we sorted items into categories. The kiddos were struggling with stripes and spots on the animals, so another lesson was born.

Language Targets:
Expressive Language: I focused on "that" but If your students are ready for "it" that would work better :)

Receptive Language: What questions

Materials: 2 boxes, one labeled with stripes and one with spots, different items with spots and stripes (some were zoo animals, but I also used other items as well. Some examples: clothes, paper, bucket with spots, a microphone, etc. Have fun finding your items!)

First, we reviewed the zoo animal vocabulary. Then I pulled out the zoo animals that had stripes or spots. Talk about how the animals look and discuss where to put each animal (either in the stripe box or the spot  box).

Next, have the items in a big bag, pull out the first item.

T: What is that?
S: That is a scarf!
T: Does that have spots or stripes?
S:That has stripes! (Student should put it in the box labeled stripes)

Continue until all items have been sorted. At the end, we counted the items in each box. Which box has the most??


To make the boxes, I cut the tops off of tissue boxes. Then I covered the boxes with large masking tape (took two times around to cover the pattern on the boxes). Last, I drew stripes and spots on index cards and taped to the outside of each box.

Stripe Center
For morning center, the students cut black stripes and glued the stripes on orange paper. We talked about what animal has that pattern too.


Dot Center
We also did dot sticker D's. Our letter for the week is D, so we combined spots (dots) and D!


Preposition: Between

Understanding Between!

Today we introduced the concept of between to the kiddos. Using the zoo animals, we modeled the concept of between trees, between cars and between blocks. After the modeling, each student had a chance to practice the concept.

Language Targets:
Expressive languae: between
Receptive Language: Where questions, following directions

T: (giving the student the trees) Put the giraffe between the trees. Where is the giraffe?
S: The giraffe is between the trees. ("between the trees" or "between" is OK too)


Do this with each student. Then switch to cars and then blocks.


Next, give the student two choices.
Example: Give the student the trees and the cars.
T: Put the giraffe between the cars. Where is the giraffe?
S: The  giraffe is between the cars. ("between the cars," or just "between" is OK too.)


Do with each student.
**I used all different zoo animals during the lesson, not just the giraffe!!!

Directions for making Paperbag trees
I used two lunch bags for my trees and it worked out fairly well! The trees were easier to make than I thought!!

Monkey Center!

For the teacher led center today the kiddos made thumbprint monkeys! Super cute.
For the lesson, each child will need a piece of paper with two large trees drawn on the paper. Then using a stamp ink pad, stamp the thumb in the ink and put the thumbprint on the paper. Two thumbprints together make one monkey. When the child is done making thumbprints, the face, arms/legs and of course, the long tail can be added to each set of thumbrpints! Super cute when done.


Thursday, March 22, 2012

Action+Recipient and Top vs. Bottom Prepositions

Understanding "with" (manner) and Top vs. Bottom


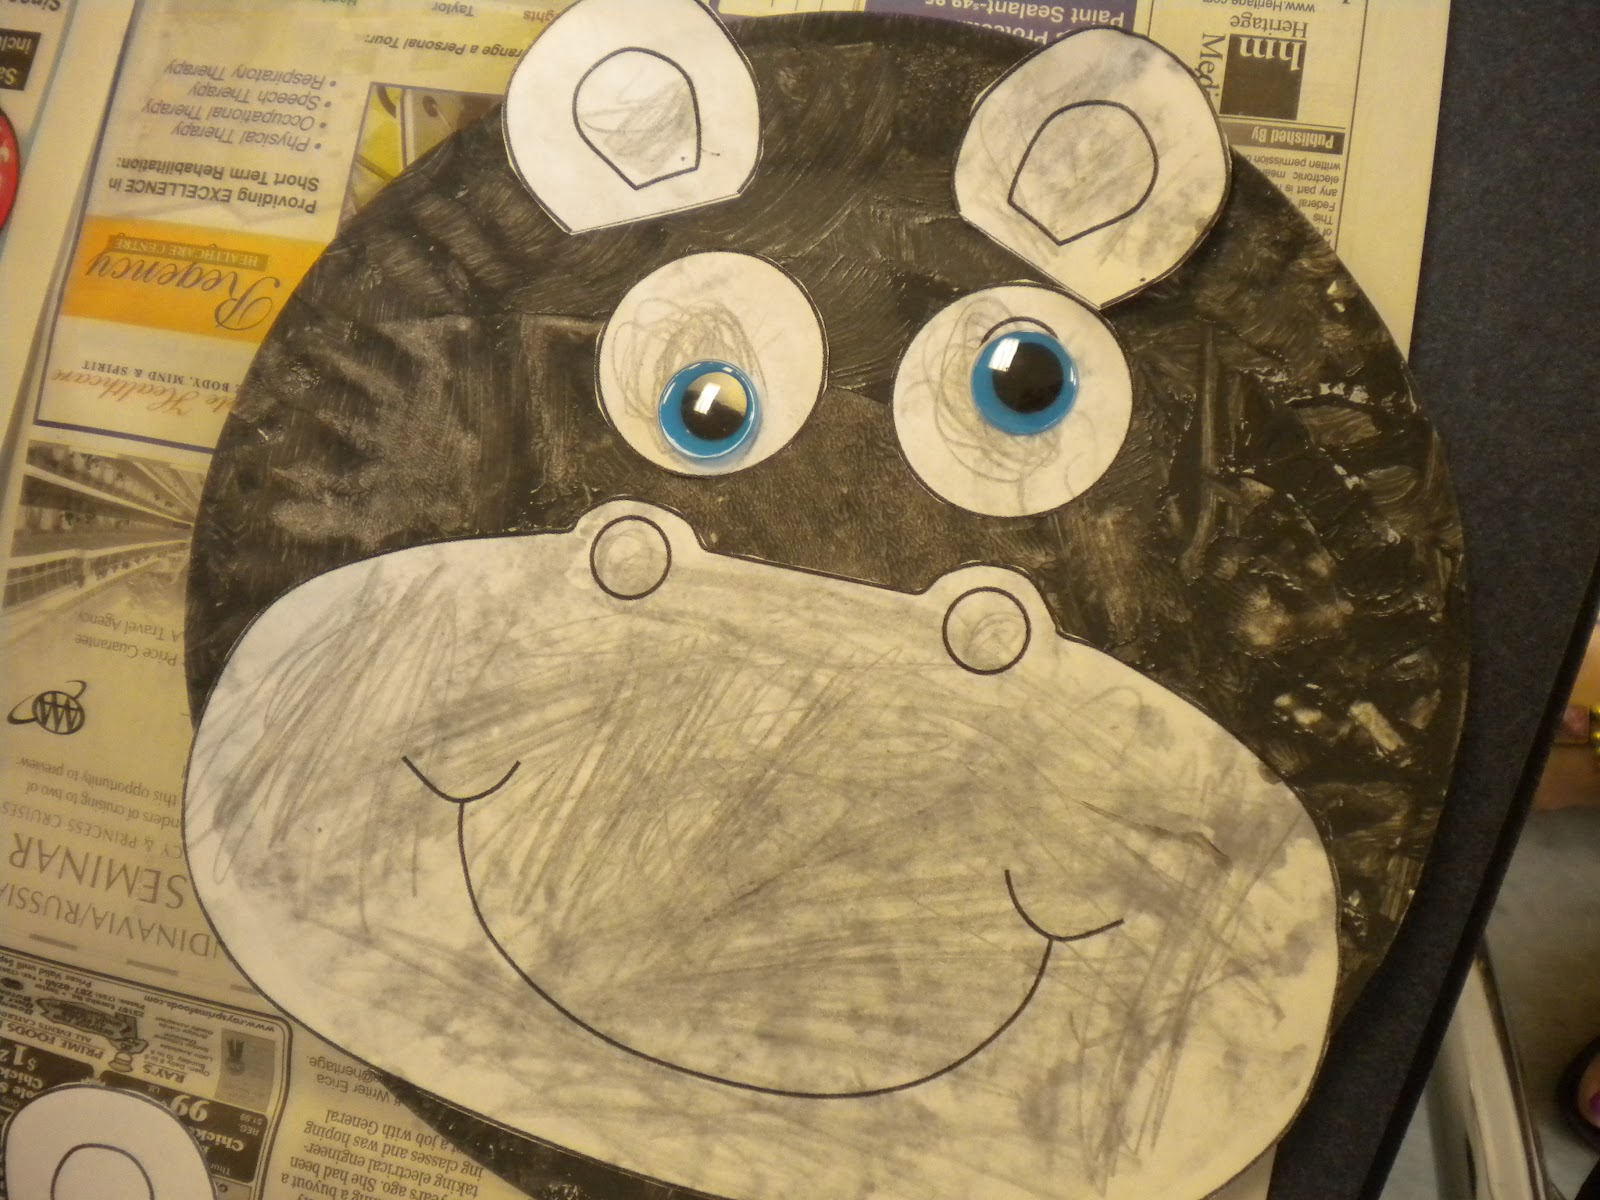
There were a handful of animal names that the kiddos were struggling to remember, so we did some fun crafting!! We made a hippo, a tiger, a leopard and a peacock. All of the following crafts were made with the same language targets so I will write the lesson once. After each picture, I will post websites where specific parts for the animal can be found.


Language Targets:
Expressive Language: with, top/bottom, adjective+noun (two eyes).
Receptive Language: What questions


Start off the lesson by reviewing the vocabulary words.
T: What is that?
S: That is a polar bear.
T: Today we are going to make a hippo.  The hippo is gray. I need to  make gray paint. I will  mix black and white together. What am I stirring the paint with?
S: With a paintbrush!
T: Now, the gray paint is ready. What will you paint the hippo with?
S:With a paintbrush!
T: Andrew, what is he (point to another boy in the class) painting with?
S: He is painting with a paintbrush.
Repeat till all students have had a least one turn.


Once hippo is painted. add the facial features.
T:What does the hippo need? (hold up a facial feature: ears, eyes, nose, mouth)
S: Eyes!
T: How many eyes does the hippo need?
S: The hippo needs two eyes.
T: What color eyes do you want?
S: I want blue eyes.
T: How many blue eyes do you want?
S: I want two blue eyes.
T: Where will you glue the two blue eyes? On top of the head or the bottom?
S: On the top!
Repeat with each facial feature.


I used the same lesson for each animal craft we made!


Hippo Craft


We painted a paper plate gray. Then colored the facial features gray as well (in hindsight, I would have copied the facial features on gray paper and then cut out for the students)

Hippo Craft Directions/Printable


More hippo crafts


Tiger


We painted to paper plates orange. Then painted black stripes. This was a major focus of the lesson, stripes. We added 4 paws, a tail, 2 ears, 2 eyes, one nose and the mouth. I made these myself and cut each out before the lesson started. I will try and scan the outlines in and upload later.
More Tiger Craft


Leopard
This was the same as the tiger, expect we focused on spots! We mixed brown and white paint to make tan. Then we used cork tops to paint the spots.
**Tip: glue the pipecleaner mouth on with a glue gun. Much easier than regular glue!


Peacock

Paper plates are the theme of this lesson!! The language focus of this lesson was "and." We drew the feathers on with green and blue markers. Then we used yellow paint for the spots. We had cotton balls with clothespins handles, to tip in the yellow paint to make the spots. Last, the facial features were added! Very cute :)
More Peacock Crafts

More Zoo animal Crafts